
Welcome to our guide on PDF blueprint picnic table plans! These detailed blueprints offer a comprehensive approach to building durable and stylish outdoor furniture. With step-by-step instructions, material lists, and precise measurements, they simplify the DIY process for enthusiasts of all skill levels. Whether you’re crafting a traditional, folding, or kid-sized table, these plans ensure a professional finish; Perfect for outdoor gatherings, these designs emphasize functionality and longevity, making them a great addition to any backyard.
Overview of Picnic Table Plans
Picnic table plans provide detailed blueprints for constructing durable and stylish outdoor furniture. Available in various designs, these plans cater to different needs, from traditional setups to folding or kid-sized tables. They typically include a materials list, tools required, and step-by-step instructions, ensuring clarity for DIY enthusiasts of all skill levels. Many plans are available in PDF format, offering easy access and printing for convenient use. Whether you prefer a classic design or a modern, space-saving option, these plans guide you through the process, helping you create functional and long-lasting picnic tables perfect for outdoor gatherings and family enjoyment.
Importance of Using a PDF Blueprint
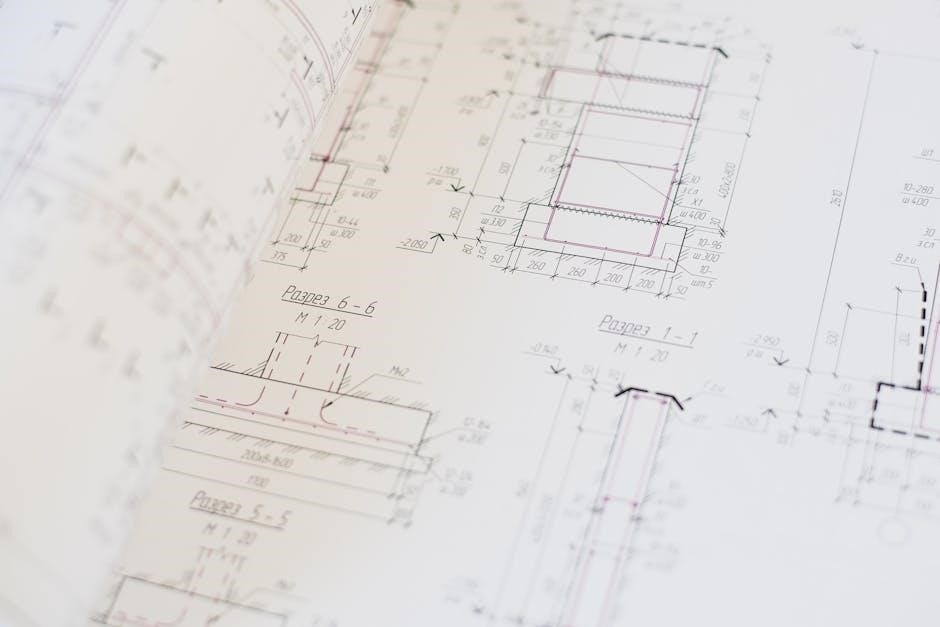
Using a PDF blueprint for picnic table plans is essential for ensuring accuracy and ease during the construction process. PDFs are universally accessible, maintaining consistent formatting across devices, which is vital for precise measurements and layouts. They are often free or easily downloadable, making high-quality plans reachable for everyone. PDFs also support security features like password protection, safeguarding intellectual property. Additionally, they are simple to share and archive, ensuring longevity and accessibility. Enhanced features like bookmarks and search functions make navigation effortless. Overall, PDF blueprints provide a reliable, user-friendly, and efficient way to guide your DIY project, ensuring a professional and durable result for your picnic table.
Essential Components of a Picnic Table Plan
A picnic table plan typically includes a table top, supports, legs, benches, and a frame, ensuring a sturdy and functional design for outdoor gatherings.
Materials and Tools List
A typical picnic table plan requires 2×6 and 2×4 lumber for the table top, legs, and supports. Additional materials include galvanized coach bolts, nuts, washers, and wood screws. Tools needed include a drill, saw, measuring tape, square, and wrench. The plans often specify the exact quantities and sizes for each component, ensuring minimal waste. A detailed list helps in preparing everything beforehand, making the building process efficient and stress-free. Always opt for high-quality, weather-resistant materials to ensure the table’s longevity and durability for outdoor use.

Understanding the Cut List and Measurements
A cut list is essential for efficient woodworking, detailing precise measurements for each piece of lumber. Typical picnic table plans specify cuts for 2×6 and 2×4 boards, such as table tops, battens, legs, and braces. For example, an 8-foot table may require five 2×6 boards for the top and three 2×4 battens for support. Measurements are provided in inches or feet, ensuring accuracy. The plans often include diagrams to visualize cuts and assembly; Properly following the cut list minimizes waste and ensures components fit together seamlessly. This step is crucial for achieving a sturdy and professional-looking picnic table.
Safety Guidelines and Precautions
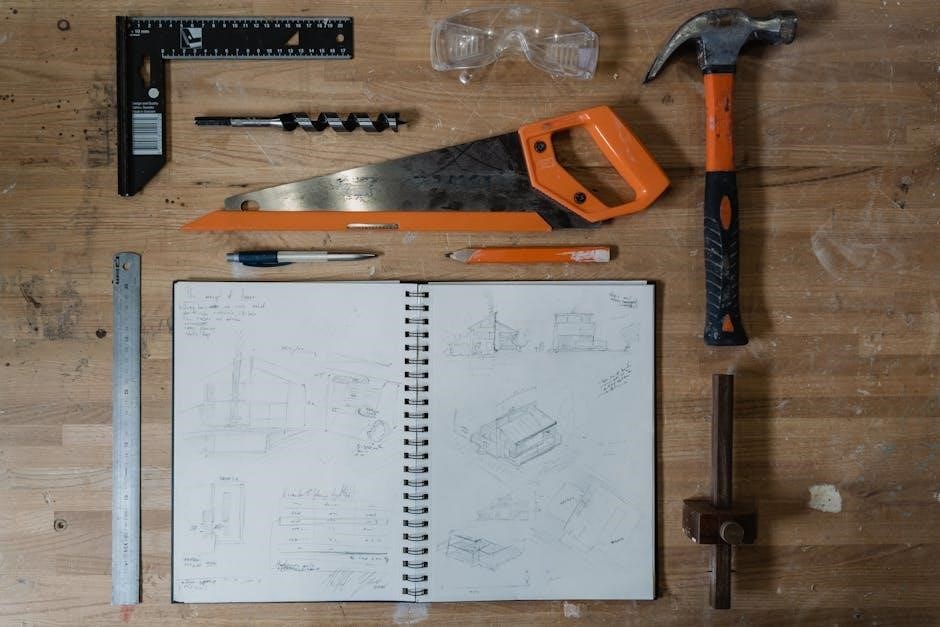
When working with power tools and wood, always wear protective gear, including gloves and safety goggles. Ensure a clean workspace to avoid tripping hazards. Use proper lifting techniques to prevent injury. Inspect all materials for splinters or imperfections before cutting. Follow manufacturer guidelines for tools and hardware. Galvanized coach bolts and screws are recommended to enhance durability and weather resistance. Avoid over-tightening joints, as this can cause wood splitting. Keep loose clothing and long hair tied back when operating saws or drills. Properly dispose of waste materials. Always follow local building codes and safety best practices to ensure a secure and long-lasting picnic table. Stay alert and patient during construction. Safety first ensures a successful project.
Types of Picnic Tables and Their Plans
Explore various picnic table designs, including traditional, folding, detached bench, and kids’ tables. Each type offers unique features, with plans providing detailed instructions for easy construction and customization to suit any outdoor space.
Traditional Picnic Table Plans
A traditional picnic table is a classic choice for outdoor dining, offering a simple yet durable design. These plans typically feature a rectangular table top with attached benches, crafted from sturdy materials like 2×6 lumber. The design emphasizes functionality, with a focus on easy assembly and long-lasting construction. Many PDF blueprints include detailed cut lists, step-by-step instructions, and diagrams to guide DIY enthusiasts. Whether for a backyard gathering or a public park, traditional picnic tables are timeless and practical. They often require basic tools and materials, making them accessible for builders of all skill levels. Perfect for creating a cozy outdoor space, these plans ensure a sturdy and comfortable seating solution.

Folding Picnic Table Plans
Folding picnic table plans are ideal for those seeking versatility and space-saving solutions. These designs allow the table to fold down into a single bench, perfect for compact storage or easy transport. Crafted from durable materials like 2×4 or 2×6 lumber, folding tables are lightweight yet sturdy. Many PDF blueprints include detailed instructions for hinges and supports to ensure smooth folding mechanisms. Galvanized hardware is often recommended to enhance longevity. These plans are great for small gardens, campsites, or events, offering a practical and portable seating option. With clear cut lists and step-by-step guides, they make DIY projects effortless and efficient for all skill levels.
Picnic Table Plans for Kids
Picnic table plans for kids are designed with safety and durability in mind, featuring smaller dimensions and rounded edges. These plans often include a 4-foot table and benches, perfect for little ones. Crafted from weather-resistant wood, they ensure long-lasting outdoor use. Many PDF blueprints offer simple, kid-friendly designs with clear instructions for parents or DIY enthusiasts. Some plans include fun customization options, like colorful paint or engraved names. Built-in safety features, such as smooth surfaces and sturdy supports, make these tables ideal for children. They are easy to assemble and provide a charming space for kids to enjoy outdoor meals and activities.
Detached Bench Picnic Table Plans
Detached bench picnic table plans offer a versatile and space-saving design, perfect for smaller yards or casual gatherings. These plans feature a separate table and benches, allowing for more flexibility in arrangement. Often crafted from durable, weather-resistant wood, they ensure longevity and stability. The PDF blueprints typically include a detailed materials list, cut list, and step-by-step instructions, making the project accessible to DIY enthusiasts of all skill levels. With a focus on simplicity and functionality, these plans are ideal for creating a charming outdoor dining area that accommodates both adults and children comfortably. They are easy to assemble and maintain, providing years of enjoyment.
Step-by-Step Instructions for Building a Picnic Table
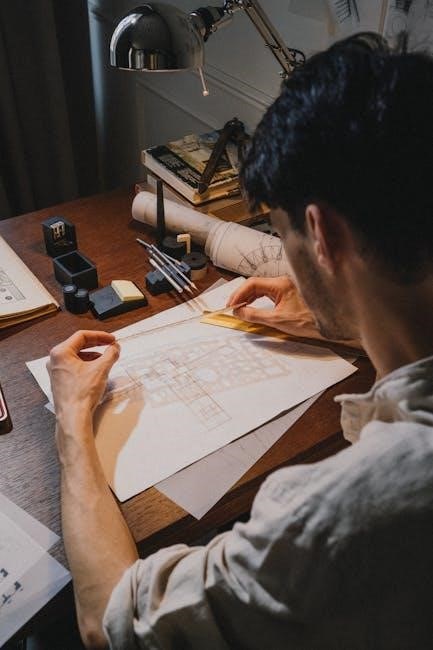
These PDF blueprints provide clear, detailed guidance for constructing a picnic table. Start by preparing materials and tools, then construct the frame, attach seat tops, and finalize assembly. Each step ensures a sturdy, professional finish, perfect for DIY enthusiasts of all skill levels. Follow the instructions carefully to achieve a durable and functional outdoor dining setup.
Preparing the Materials and Tools
Start by gathering all the materials and tools listed in your PDF blueprint. For an 8-foot picnic table, you’ll need 2×6 lumber for the table top and legs, 2x4s for battens, and hardware like coach bolts, nuts, and washers. Ensure all materials are cut to the specified lengths using a power saw. Essential tools include a drill, screwdriver, tape measure, and wrench. Organize your materials with a checklist to avoid missing anything. Safety gear like gloves and goggles is also crucial. Proper preparation ensures a smooth and efficient building process, minimizing delays and potential errors during assembly.
Constructing the Table Frame
Begin by assembling the table frame using 2×6 lumber for the legs and 2x4s for the battens. Attach the legs to the frame using coach bolts, ensuring the structure is square. Secure the table top supports and cross braces to provide stability. Use clamps to align the boards properly before tightening the bolts. Make sure the frame is level and sturdy. Attach the seat supports to the sides, ensuring proper spacing for the benches. Double-check all joints for tightness and alignment. This step forms the foundation of your picnic table, so precision is key to ensure durability and even weight distribution.
Attaching the Seat Tops and Supports
Once the frame is built, attach the seat tops using 2×6 lumber, ensuring they are evenly spaced and aligned with the supports. Secure the seat planks to the supports with 2-1/2″ galvanized screws or bolts. Use clamps to hold the planks in place while tightening. Ensure the seats are level and properly aligned with the table frame. For added stability, attach additional supports between the seat planks and the table frame. Use weather-resistant wood and hardware to ensure durability. Double-check the alignment and spacing before finalizing the attachments. This step ensures the seats are secure and ready for use. Properly tightened joints prevent shifting over time. Use a spirit level to confirm everything is perfectly aligned. Ensure all bolts are tightly secured to avoid any wobbling or instability. This completes the seating structure, providing a sturdy and comfortable surface for users. Always follow the PDF blueprint measurements for accurate results. Ensure the seats are evenly spaced and the supports are correctly positioned. Avoid over-tightening, as this could cause warping. Once complete, inspect the seats for stability and evenness. Ensure all screws are hidden for a smooth finish. Properly attached seats enhance the overall durability and safety of the picnic table. Follow the plan’s instructions for precise spacing and alignment. Make sure the seats are firmly attached to withstand regular use. This step is crucial for the functionality and longevity of the picnic table. Ensure the seats are level and securely fastened. Proper alignment ensures even weight distribution and prevents structural weaknesses. Always refer back to the PDF blueprint for specific measurements and guidelines. Ensure all supports are securely attached to the table frame. Avoid any gaps between the seat planks and supports. Use a rubber mallet to tap pieces into place if necessary. Ensure the seats are flush with the table edges for a clean finish. Properly attaching the seat tops and supports ensures the picnic table is safe and durable. Double-check all connections before moving on to the final assembly. Ensure the seats are comfortable and evenly spaced. Follow the PDF blueprint instructions carefully to achieve professional results. Properly secured seats ensure the picnic table remains stable and secure for years. Ensure all hardware is tightened evenly. Avoid overtightening, as this could strip the screws. Use a level to ensure the seats are perfectly horizontal. Ensure the supports are evenly spaced and securely attached. Properly attaching the seat tops and supports is essential for the structural integrity of the picnic table. Follow the PDF blueprint guidelines for precise measurements and instructions. Ensure the seats are comfortable and securely attached. This step completes the seating assembly, providing a sturdy and reliable surface. Always refer to the PDF blueprint for specific details and instructions. Ensure the seats are evenly spaced and properly aligned. Properly attaching the seat tops and supports ensures the picnic table is safe and durable. Follow the PDF blueprint instructions carefully to achieve professional results. Ensure the seats are comfortable and evenly spaced. Properly secured seats ensure the picnic table remains stable and secure for years. Ensure all hardware is tightened evenly. Avoid overtightening, as this could strip the screws. Use a level to ensure the seats are perfectly horizontal. Ensure the supports are evenly spaced and securely attached. Properly attaching the seat tops and supports is essential for the structural integrity of the picnic table. Follow the PDF blueprint guidelines for precise measurements and instructions. Ensure the seats are comfortable and securely attached. This step completes the seating assembly, providing a sturdy and reliable surface. Always refer to the PDF blueprint for specific details and instructions. Ensure the seats are evenly spaced and properly aligned. Properly attaching the seat tops and supports ensures the picnic table is safe and durable. Follow the PDF blueprint instructions carefully to achieve professional results; Ensure the seats are comfortable and evenly spaced. Properly secured seats ensure the picnic table remains stable and secure for years. Ensure all hardware is tightened evenly. Avoid overtightening, as this could strip the screws. Use a level to ensure the seats are perfectly horizontal. Ensure the supports are evenly spaced and securely attached. Properly attaching the seat tops and supports is essential for the structural integrity of the picnic table. Follow the PDF blueprint guidelines for precise measurements and instructions. Ensure the seats are comfortable and securely attached. This step completes the seating assembly, providing a sturdy and reliable surface. Always refer to the PDF blueprint for specific details and instructions. Ensure the seats are evenly spaced and properly aligned. Properly attaching the seat tops and supports ensures the picnic table is safe and durable. Follow the PDF blueprint instructions carefully to achieve professional results. Ensure the seats are comfortable and evenly spaced. Properly secured seats ensure the picnic table remains stable and secure for years. Ensure all hardware is tightened evenly. Avoid overtightening, as this could strip the screws. Use a level to ensure the seats are perfectly horizontal. Ensure the supports are evenly spaced and securely attached. Properly attaching the seat tops and supports is essential for the structural integrity of the picnic table. Follow the PDF blueprint guidelines for precise measurements and instructions. Ensure the seats are comfortable and securely attached. This step completes the seating assembly, providing a sturdy and reliable surface. Always refer to the PDF blueprint for specific details and instructions. Ensure the seats are evenly spaced and properly aligned. Properly attaching the seat tops and supports ensures the picnic table is safe and durable. Follow the PDF blueprint instructions carefully to achieve professional results. Ensure the seats are comfortable and evenly spaced. Properly secured seats ensure the picnic table remains stable and secure for years. Ensure all hardware is tightened evenly. Avoid overtightening, as this could strip the screws. Use a level to ensure the seats are perfectly horizontal. Ensure the supports are evenly spaced and securely attached. Properly attaching the seat tops and supports is essential for the structural integrity of the picnic table. Follow the PDF blueprint guidelines for precise measurements and instructions. Ensure the seats are comfortable and securely attached. This step completes the seating assembly, providing a sturdy and reliable surface. Always refer to the PDF blueprint for specific details and instructions. Ensure the seats are evenly spaced and properly aligned. Properly attaching the seat tops and supports ensures the picnic table is safe and durable; Follow the PDF blueprint instructions carefully to achieve professional results. Ensure the seats are comfortable and evenly spaced. Properly secured seats ensure the picnic table remains stable and secure for years. Ensure all hardware is tightened evenly. Avoid overtightening, as this could strip the screws. Use a level to ensure the seats are perfectly horizontal. Ensure the supports are evenly spaced and securely attached. Properly attaching the seat tops and supports is essential for the structural integrity of the picnic table. Follow the PDF blueprint guidelines for precise measurements and instructions. Ensure the seats are comfortable and securely attached. This step completes the seating assembly, providing a sturdy and reliable surface. Always refer to the PDF blueprint for specific details and instructions. Ensure the seats are evenly spaced and properly aligned. Properly attaching the seat tops and supports ensures the picnic table is safe and durable. Follow the PDF blueprint instructions carefully to achieve professional results. Ensure the seats are comfortable and evenly spaced. Properly secured seats ensure the picnic table remains stable and secure for years. Ensure all hardware is tightened evenly. Avoid overtightening, as this could strip the screws. Use a level to ensure the seats are perfectly horizontal. Ensure the supports are evenly spaced and securely attached. Properly attaching the seat tops and supports is essential for the structural integrity of the picnic table. Follow the PDF blueprint guidelines for precise measurements and instructions. Ensure the seats are comfortable and securely attached.
and Additional Resources
Final Assembly and Quality Check
After constructing the frame, table top, and seats, assemble all components according to the PDF blueprint. Ensure all bolts and screws are tightly secured and weather-resistant. Double-check alignment and spacing, using a spirit level to confirm everything is even. Inspect for any gaps or uneven surfaces and address them by adjusting the supports. Sand all wood edges for a smooth finish and apply a sealant if desired. Conduct a final quality check to ensure stability, durability, and safety. Test the table by applying weight to ensure it remains sturdy. Follow the blueprint’s guidelines for a professional-grade finish, ensuring your picnic table is ready for years of outdoor use.