
Welcome to the Miller Welder Manual, your essential guide to safe and effective welding. This manual helps you maximize your Miller welder’s potential, ensuring optimal performance and longevity. It covers setup, operation, and troubleshooting, providing clear instructions for achieving professional-grade welds while maintaining safety standards.
Importance of the Manual for Safe and Effective Welding
The Miller Welder Manual is crucial for ensuring safe and effective welding practices. It provides detailed safety precautions, protecting users from potential hazards like intense arc rays and flying sparks. Proper PPE and workspace preparation are emphasized to minimize risks. The manual also offers clear instructions for setup, operation, and troubleshooting, ensuring optimal performance. Adhering to the guidelines helps prevent equipment damage and ensures high-quality welds. Ignoring the manual can lead to unsafe conditions and subpar results. Always refer to it before starting any welding project to guarantee safety, efficiency, and professional-grade outcomes. It’s your key to mastering Miller welders effectively. Proper use ensures longevity and reliability, making it an indispensable resource for all users. By following the manual, you protect yourself, your equipment, and achieve consistent, superior welding results.
Key Features of the Miller Welder Manual
The Miller Welder Manual stands out with its comprehensive and user-friendly design. It includes detailed safety guidelines, installation steps, and operating instructions tailored for various Miller models. The manual offers troubleshooting solutions and maintenance tips to extend equipment life. With clear diagrams and step-by-step guides, it caters to both novices and experienced welders. Additional resources like parts lists and warranty information are provided for convenience. The manual is accessible in multiple formats, including digital versions for easy reference. Its organized structure ensures quick access to essential information, enhancing the overall welding experience. This makes it an invaluable tool for anyone using Miller welders.
Safety Precautions and Guidelines
Understanding safety warnings and symbols is crucial for safe welding practices. Always wear personal protective equipment, including welding helmets and gloves, to prevent injuries from arc rays and sparks. Ensure proper ventilation to avoid inhaling harmful fumes. Regularly inspect equipment and surroundings to identify potential hazards. Follow guidelines for worksite setup to maintain a safe environment. Adhering to these precautions protects you and others from accidents, ensuring a secure welding experience.
Understanding Safety Warnings and Symbols
Understanding safety warnings and symbols in the Miller welder manual is essential for preventing accidents. These symbols and alerts highlight potential hazards, such as intense UV/IR radiation from arc rays, which can harm eyes and skin. Warning labels also indicate risks like electrical shock or fire hazards. Familiarize yourself with ANSI Z49.1 standards for eye protection and ensure proper PPE is worn. Symbols may include images of welding helmets, caution signs, or flames, signaling specific risks. Ignoring these warnings can lead to severe injury. Always refer to the manual for detailed explanations of safety symbols to ensure safe operation and compliance with industry standards.
Personal Protective Equipment (PPE) Requirements
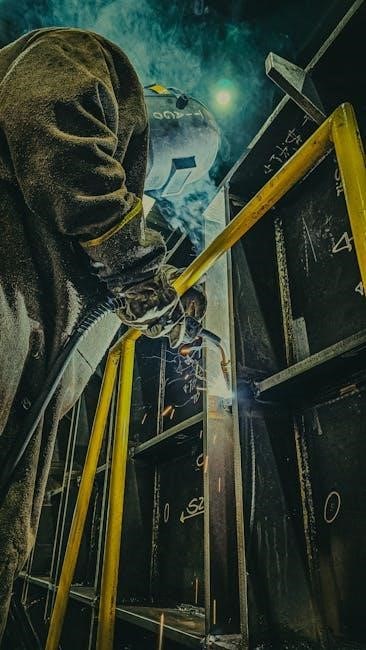
Proper PPE is crucial when operating a Miller welder to protect against hazards like arc rays, sparks, and heat. Always wear a welding helmet with a shade lens rated for your process, adhering to ANSI Z49.1 standards. Use safety glasses with Z87.1 certification under the helmet for added eye protection. Wear heat-resistant gloves to prevent burns and ensure loose clothing is tied back to avoid fire risks. Steel-toe boots and fire-resistant jackets further enhance safety. Adhering to PPE requirements minimizes injury risks, ensuring a safe welding environment. Never weld without proper protective gear to avoid severe burns or eye damage.
Worksite Safety and Hazard Prevention
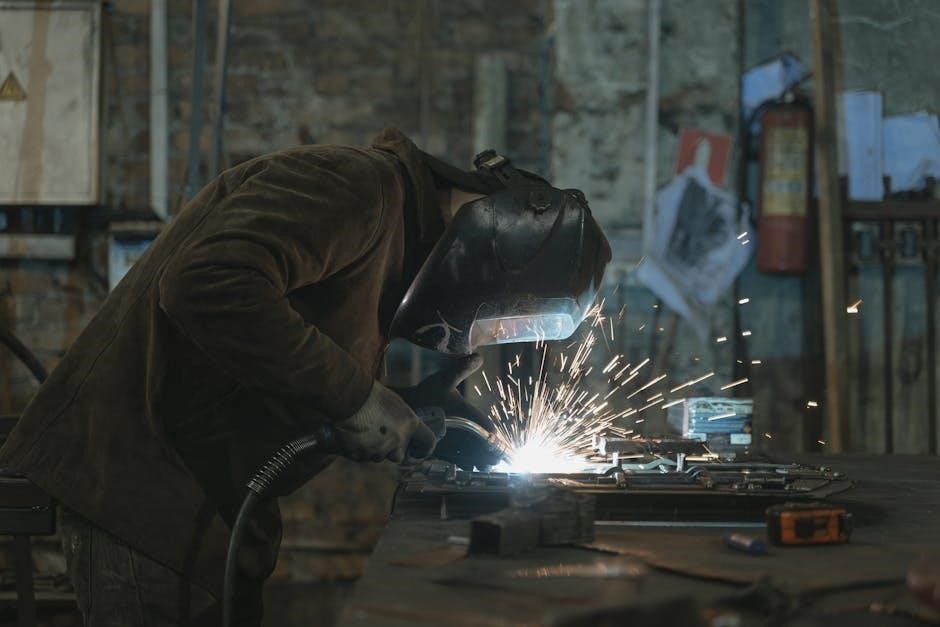
Ensure your worksite is clean and free from flammable materials; Proper ventilation is essential to prevent inhalation of fumes. Keep the area clear of clutter to avoid tripping hazards. Regularly inspect equipment for damage, ensuring all connections are secure. Never weld near open flames or sparks. Use fire-resistant curtains or screens to contain sparks. Keep a fire extinguisher nearby and ensure others in the area are aware of welding activities. Properly disconnect power sources before servicing equipment. Always maintain a safe distance from bystanders and ensure they are also protected from welding hazards. A well-prepared worksite minimizes risks and ensures safe welding operations.

Setting Up and Installing Your Miller Welder
Proper installation ensures optimal performance and safety. Follow the manual’s step-by-step guide to connect power sources, secure cables, and position the welder for stable operation. Always refer to the Miller welder manual for specific setup instructions tailored to your model, ensuring all safety and operational standards are met for reliable service.
Choosing the Right Miller Welder for Your Needs
Selecting the appropriate Miller welder involves assessing your specific welding requirements. Consider the type of welding (MIG, TIG, Stick, or multi-process) and the scale of your projects. Portable models like the Miller Matic 252 are ideal for small repairs, while industrial-grade TIG welders are better suited for precise, high-quality results. Evaluate power sources, duty cycles, and additional features like advanced arc control or energy-efficient designs. Miller offers a diverse range of welders to match individual needs, ensuring durability, innovation, and exceptional performance. Refer to the manual or Miller’s resources for guidance in selecting the perfect model for your tasks.
Step-by-Step Installation Process
Installing your Miller welder involves a few straightforward steps to ensure proper setup and functionality. Begin by unboxing and inspecting the unit for any damage. Next, connect the power source according to the voltage requirements specified in the manual. Install the grounding cable securely to prevent electrical hazards. Attach the welding torch or wire feeder, ensuring all connections are tight. For engine-driven models, add the recommended fuel and oil as outlined. Finally, test the welder by running a trial weld on scrap metal to ensure everything operates smoothly. Always follow the manual’s instructions and safety guidelines for a safe installation process.
Operating Your Miller Welder
Start by turning on the welder and adjusting settings like voltage and wire feed speed. Monitor the arc to ensure stable operation and follow safety guidelines for optimal results.
Control Panel Overview and Functions
The control panel is the central interface for operating your Miller welder. It features a digital display, voltage and wire feed controls, and mode selection buttons. Use the voltage control to adjust output levels, while the wire feed speed dial sets the material feed rate. Mode selection allows switching between processes like MIG, TIG, or stick welding. LED indicators provide real-time feedback on power status and error codes. The panel also includes buttons for resetting parameters and accessing preset settings. Refer to the manual for detailed instructions on optimizing these functions for your specific welding tasks and achieving consistent results.
Different Welding Modes and Settings
Miller welders offer multiple welding modes to suit various applications. MIG mode is ideal for high-speed, clean welding, while TIG mode provides precision for intricate joints. Stick mode excels in harsh environments and with rusty materials. Additionally, pulse welding minimizes heat input and distortion, perfect for thin materials. Adjustments include voltage, wire feed speed, and arc characteristics. Fine-tune settings via the control panel to optimize weld quality. Experiment with preset and custom settings to achieve desired results. Proper mode selection and parameter adjustment ensure versatility and professional-grade welds across diverse projects and materials. Always refer to the manual for mode-specific guidelines and optimization tips.
Best Practices for Achieving High-Quality Welds
Ensure proper setup by selecting the correct welding mode and adjusting voltage and wire feed speed. Clean and prepare the metal surface to remove dirt, oil, or rust for strong adhesion. Maintain consistent welding technique, keeping the gun at the right angle and speed. Use appropriate shielding gas for MIG/TIG welding to prevent contamination. Monitor temperature to avoid overheating. Inspect and clean the weld area after completion. Regularly maintain the welder and replace worn parts. Follow safety guidelines and refer to the manual for specific recommendations. These practices guarantee professional-grade results and extend the life of your Miller welder.
Maintenance and Troubleshooting
Regularly clean and inspect your Miller welder to ensure optimal performance. Refer to the manual for troubleshooting common issues and parts replacement. Proper maintenance extends longevity.
Routine Maintenance Tips for Longevity
Regular maintenance is crucial for extending the life of your Miller welder. Clean the unit thoroughly, removing dust and debris that may affect performance. Check and replace worn parts, such as welding tips and nozzles, as needed. Inspect cables and connections for damage or wear, ensuring secure attachments. Lubricate moving parts to prevent friction and corrosion. Follow the manual’s guidelines for servicing intervals and always use genuine Miller replacement parts. Store the welder in a dry, cool environment when not in use. Proper upkeep ensures consistent weld quality, safety, and prevents costly repairs. Refer to your Miller welder manual for detailed maintenance schedules.
Common Issues and Troubleshooting Solutions
Common issues with Miller welders include poor weld quality, inconsistent arc performance, or machine malfunction. Check for loose connections, improper gas flow, or clogged nozzles. For wire feed problems, ensure the spool is installed correctly and the tension is adjusted. If the welder doesn’t power on, verify the power supply and circuit breaker. Refer to the troubleshooting section in your manual for specific solutions. Regular cleaning and maintenance can prevent many issues. Always use genuine Miller parts for repairs to ensure compatibility and performance. Addressing problems promptly helps maintain weld quality and extends the welder’s lifespan.
Miller Welder Legacy and Reputation
Miller Electric has built a legacy since 1929, delivering high-quality welding equipment trusted by professionals worldwide. Known for innovation, durability, and reliability, Miller welders are ISO-certified, ensuring superior performance and customer satisfaction.
History of Miller Electric Mfg. Co.
Founded in 1929 by Niels Miller, the company revolutionized welding with the first DC welding machine. Miller Electric quickly gained a reputation for innovation and quality, becoming a trusted name in the industry. Over the years, the company expanded its product line, introducing advanced technologies like the Millermatic and Dynasty series. Miller was the first U.S. welding manufacturer to achieve ISO 9001 certification, solidifying its commitment to excellence. Today, Miller Electric continues to lead in welding innovation, offering a wide range of equipment that meets the diverse needs of professionals and hobbyists alike, maintaining its legacy of reliability and performance.
Why Miller Welders Are Trusted in the Industry
Miller welders are trusted for their exceptional quality, reliability, and innovative designs. With a legacy spanning over 90 years, the brand has consistently delivered cutting-edge welding solutions. Known for their durability and performance, Miller welders meet the high standards of professionals and hobbyists alike. The company’s commitment to research and development ensures advanced features like superior arc control and energy efficiency. Additionally, Miller’s customer-focused approach, comprehensive manuals, and reliable support further solidify its reputation as a leader in the welding industry, making their products a top choice for achieving precise and professional results in various welding applications.
Additional Resources and Support
Miller offers extensive support, including online access to manuals, customer service, and technical assistance. Visit their website for parts lists, troubleshooting guides, and additional resources.
Accessing Official Miller Welder Manuals
Miller welder manuals are readily available online through the official Miller website or platforms like Manua.ls. Users can search by product model or serial number for specific guides. These manuals provide detailed information on safety, setup, operation, and maintenance. They also include troubleshooting tips and parts lists. Accessing these resources ensures you have the most accurate and up-to-date instructions for your Miller welder. Visit Miller’s official site or authorized distributors to download or view manuals for free, ensuring optimal performance and safety for your welding projects.
Customer Support and Service Options
Miller Electric Mfg. Co. offers comprehensive customer support to ensure optimal use of their welding equipment. Users can access technical assistance, troubleshooting guides, and repair services through Miller’s official website or authorized distributors. The company provides detailed product manuals, FAQs, and contact options for direct support. Additionally, Miller’s commitment to quality is backed by warranty programs and dedicated customer service teams. For any queries or issues, customers can reach out via phone, email, or online support portals. Miller’s extensive network ensures timely solutions, helping users maintain productivity and achieve professional results with their welding projects.